DO NOT RIDE THE RAMP UNTIL SATURDAY!
DO NOT RIDE THE RAMP UNTIL SATURDAY!
DO NOT RIDE THE RAMP UNTIL SATURDAY!
DO NOT RIDE THE RAMP UNTIL SATURDAY!
DO NOT RIDE THE RAMP UNTIL SATURDAY!
First of all, let me say beforehand that I never want to work on another concrete ramp, much less pick up a bag of quikrete ever again. With that said, I will tell you how the local BMXers (and 2 dope skaters) of Lafayette built their second (R.I.P. on the first one) concrete quarterpipe.
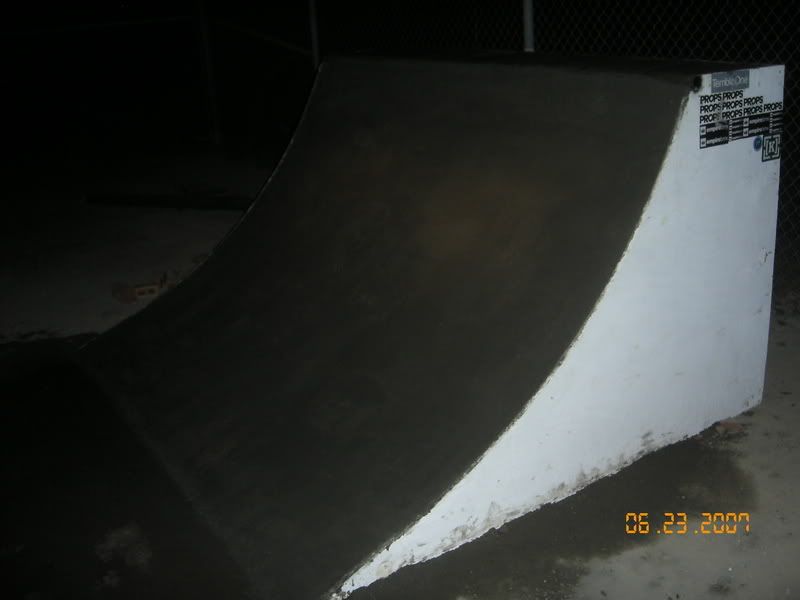
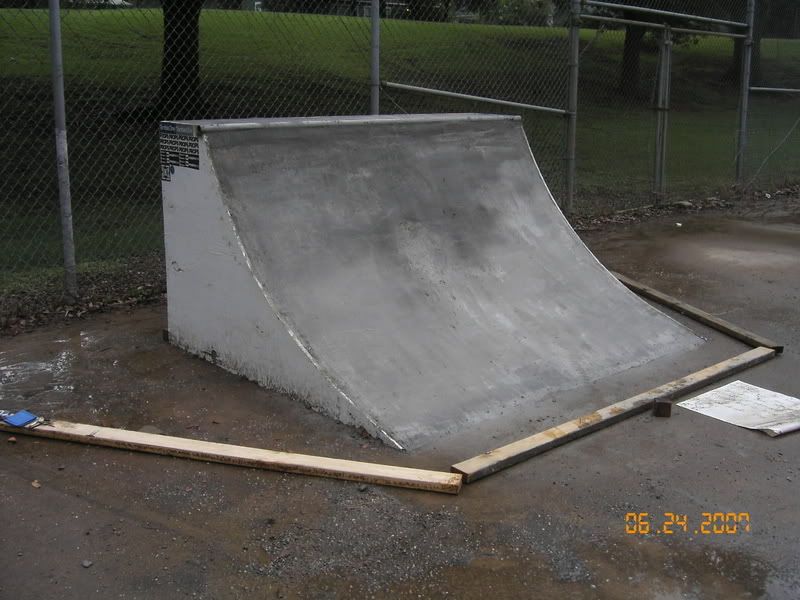
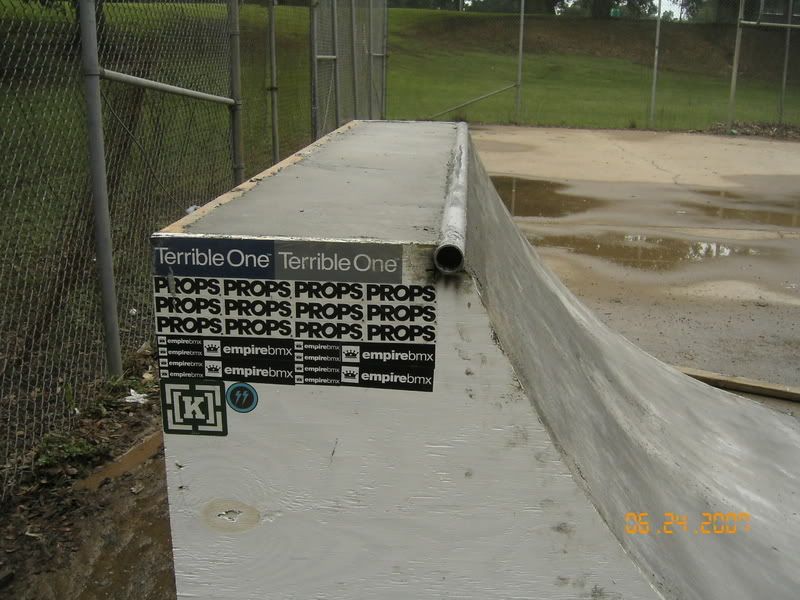
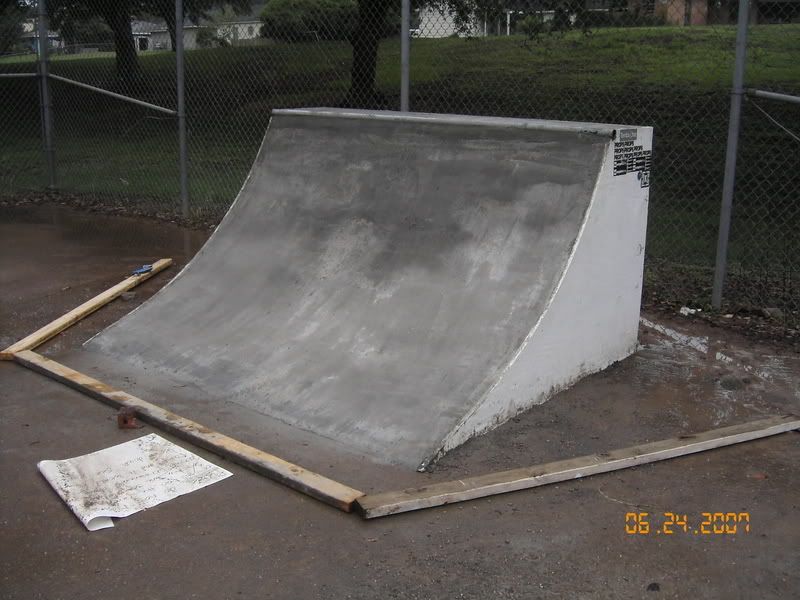
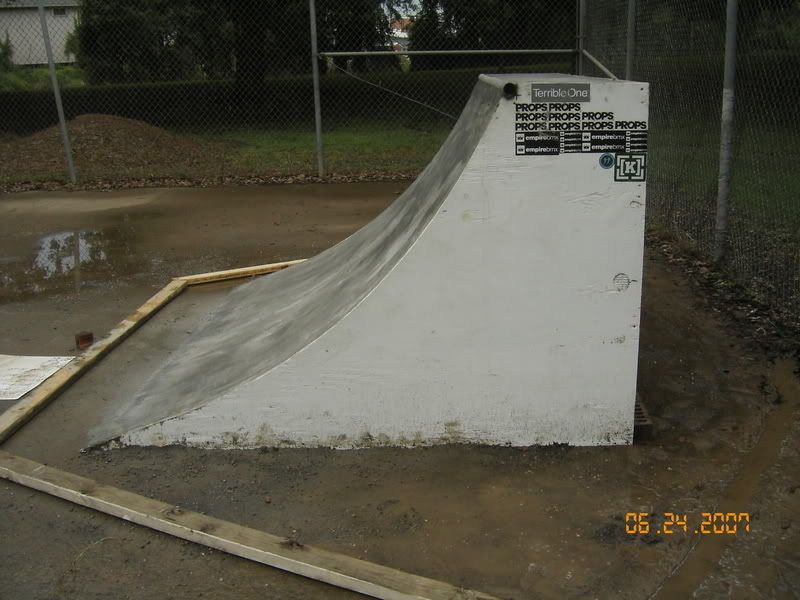
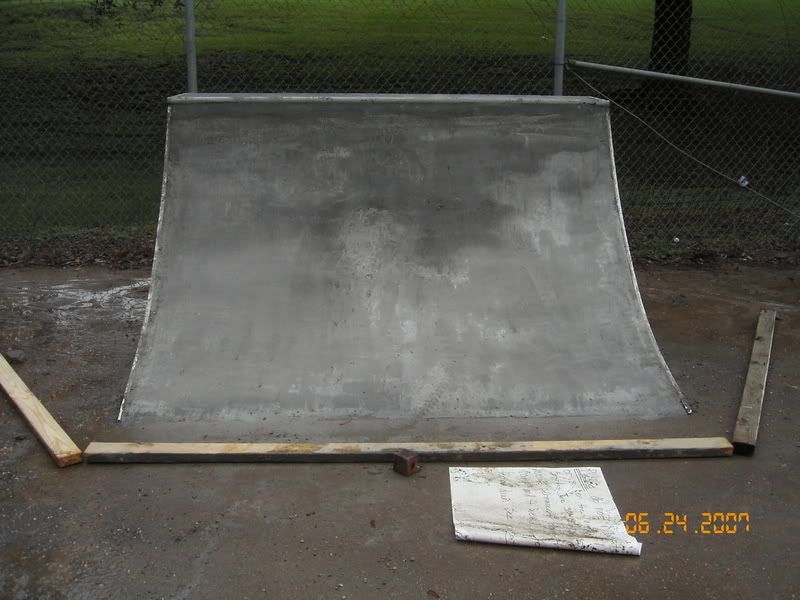
Here are some specifics. I'll start off with the dimensions of the ramp. It is about 8 ft. wide and 4 ft. high with a 6 ft. radius. The deck is 18 in. wide. The cost was about $125 or so. It probably took over 100 hours of labor between getting all the supplies, building the shell, filling it up with bricks, and pouring the concrete.
Ever since some old school skaters built our first concrete quarterpipe, I've always wanted to build one. Then I saw the piece that RideBMX did a year or so ago and I knew I had to do one eventually. Well, the summer rolled around and I had the time so I decided to get it done.
The first and most obvious thing that I needed to do was build the shell for it. I decided that a 4' tall quarterpipe wouldn't be as hard or expensive to build as a 6 ft. tall quarterpipe, but it would still be fun. I didn't take any pictures of the construction of the shell because I didn't remember to. If you don't know how to build a regular wooden quarterpipe with coping, then you shouldn't be working on a concrete quarterpipe anyway.
After the shell was completed, I brought it to the location where it was going to permanently be and placed it exactly where it needed to be. This is important because once you start filling it up, you obviously won't be able to move it.
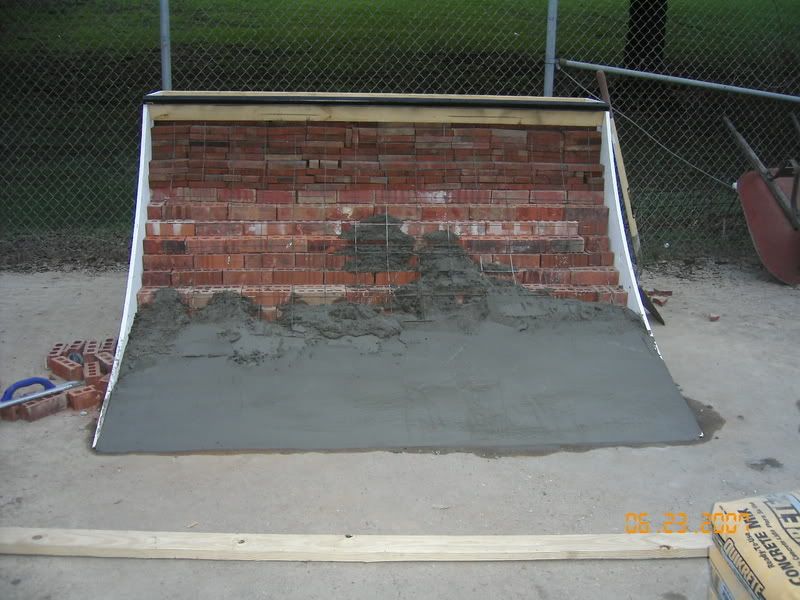
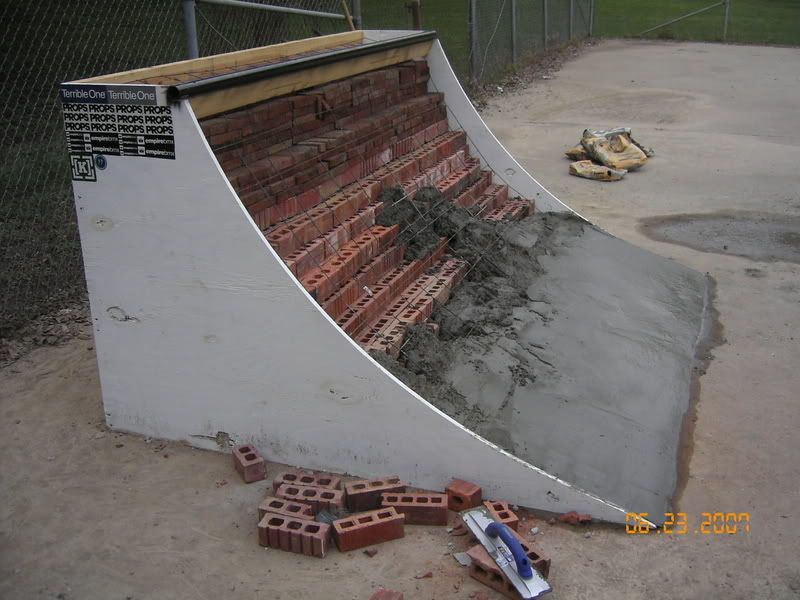
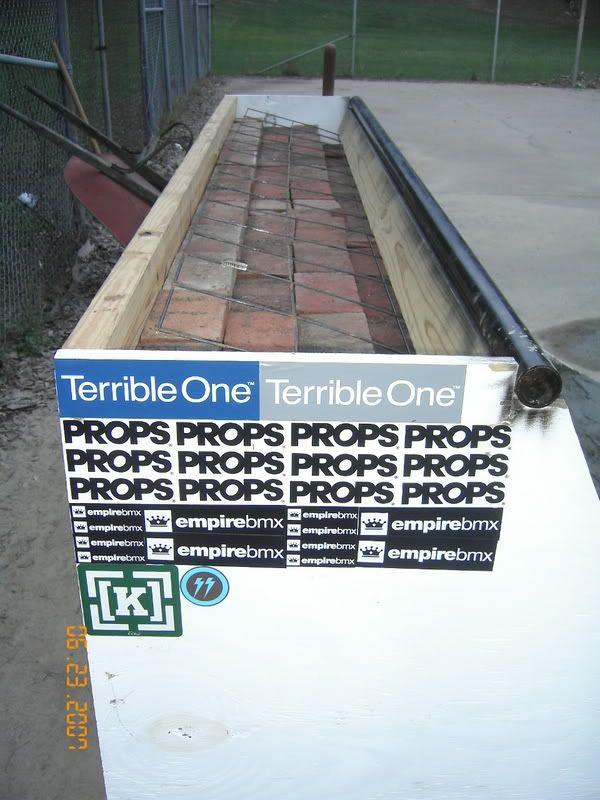
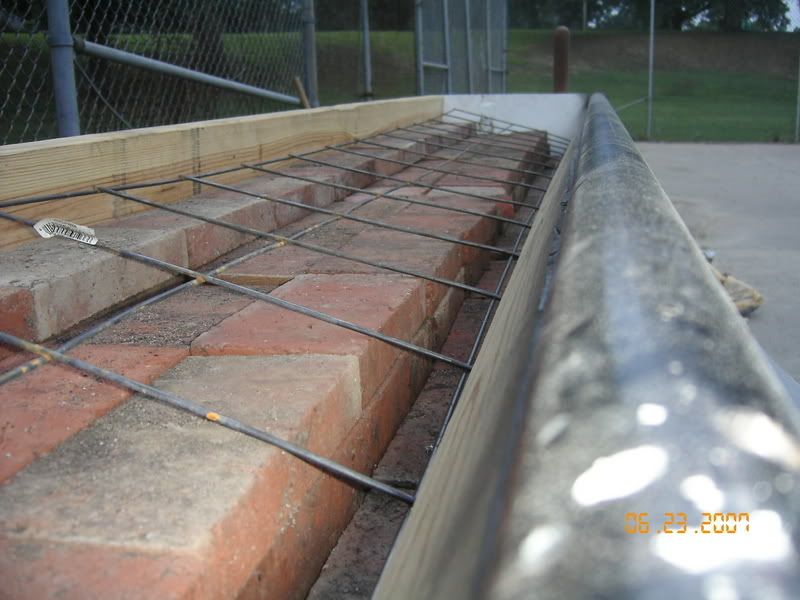
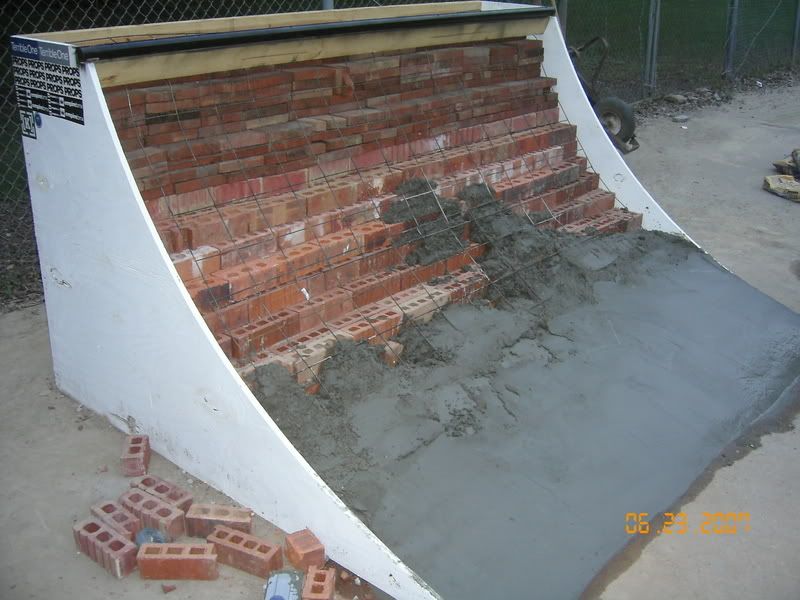
After this, I started filling it up with bricks. I chose bricks because I felt that they would be more consistent and self-sustaining than dirt (since the quarterpipe was not going to be against a solid wall). The guys who built the RideBMX quarterpipe used gravel, parking blocks, cinder blocks, and cheap quikrete from what I remember. I thought that bricks would be easier, cheaper, more organized, and simpler so I went with bricks instead. About 3/4 of the bricks were from finished houses where there weren't enough bricks for the contractor to stack up and return to the place where he bought them from, so instead of throwing them away, we used them for our quarterpipe. The other 1/4 of the bricks were given to us by Victor Boutte so a big thanks goes out to him. Filling up the quarterpipe with bricks was definitely the hardest part of building the ramp.
After we finished filling up the quarterpipe with bricks, we laid down 2 4'x7' pieces of square wire on top of the bricks. We bent one piece so the deck would have square wire on it too. This is very important because it helps to prevent the concrete from cracking after it dries. I believe that the RideBMX quarterpipe had old chainlink fence but they had problems with keeping it from sticking out of the concrete so I just paid $8.00 for 2 pieces of 4'x7' square wire and they worked out perfectly.
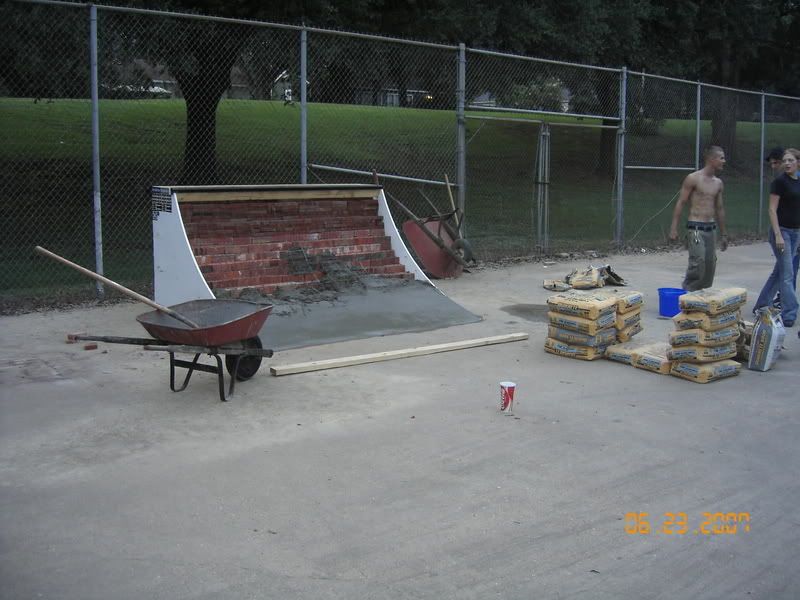
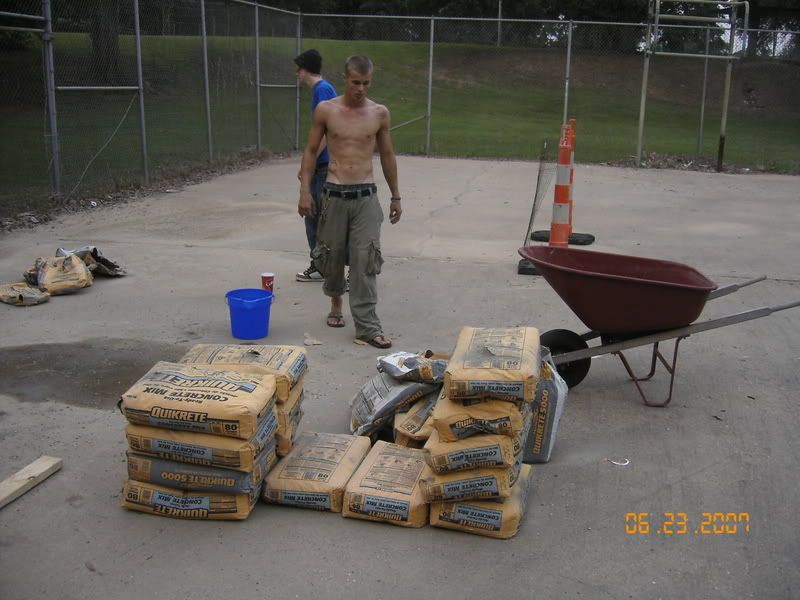
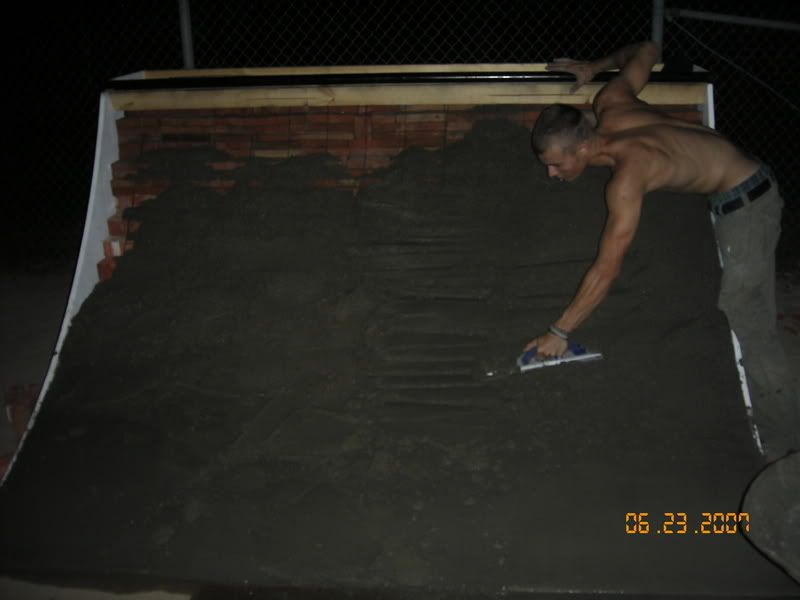
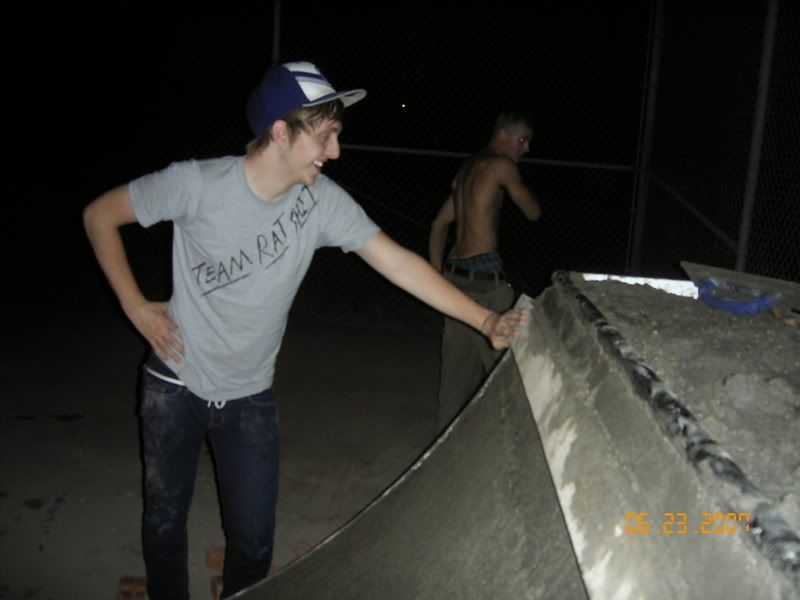
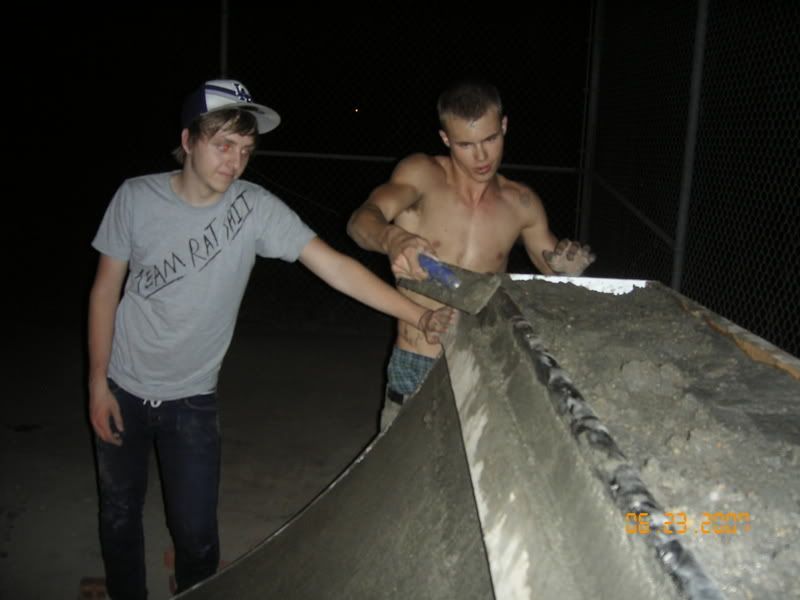
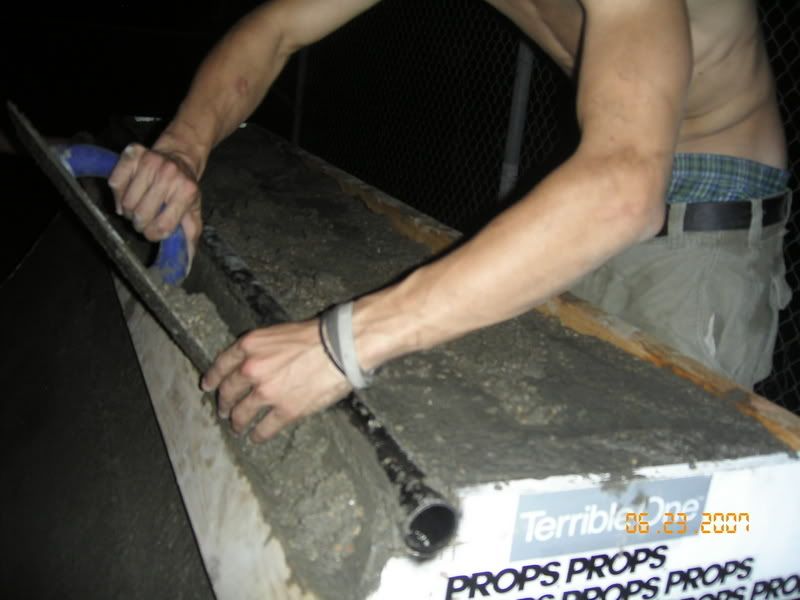
Once we had everything prepped, we purchased about 15 bags of concrete per trip and kept making trips until it looked like we would have enough concrete to finish the quarter. We ended up purchasing 48 bags of concrete but we only used 42. I believe the guys who built the RideBMX quarterpipe used a high quality concrete for the surface layer of their quarterpipe but we used the cheapest concrete at Lowes for the entire thing and the finish still looks smooth enough for skating (this quarterpipe is for both BMXers and skaters).
I called in Wesley Potter to do the finish because he's very, very, good at finishing concrete. This quarterpipe could not have been done without him. Wesley is crazy and he rules. Go buy one of his paintings from Politics in Lafayette. Pick up an Icon shirt while you are there.
I highly doubt anybody could have made such cheap concrete look so good. Also, at Lowes, if a bag is busted, then you can buy it for $.25 so we saved a lot of money by digging around and finding most of the busted bags.
In the end, it was a very expensive headache and I made Little Jeff and Cory promise me that they would never let me take on a new construction project again. Speaking of Little Jeff and Cory, I'd like to thank them along with Davey, Nick, Nate, Johnny, Lacie, Wes, Ryan, Ross, Victor, and the wonderful employees of Lowes for helping to make this project a reality.
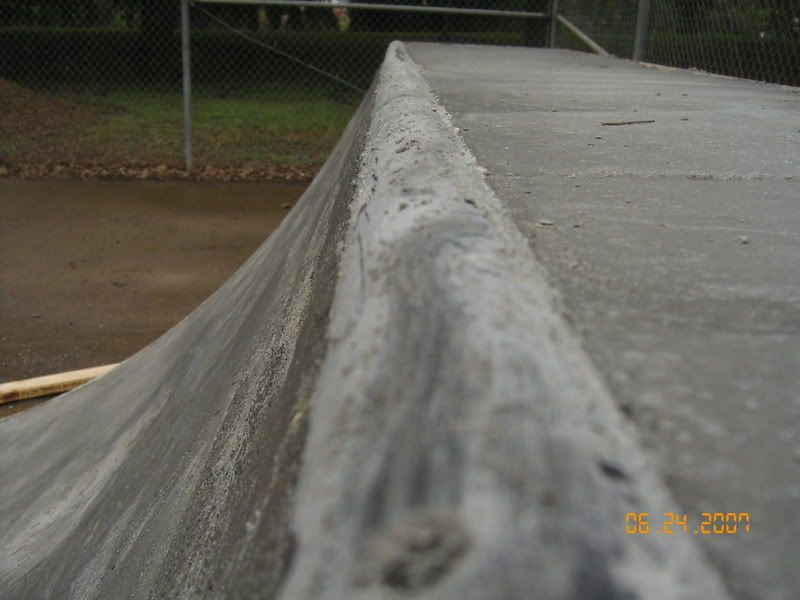
Here are some pictures and sorry I didn't start taking pictures sooner when I was closer to the beginning of the project!
DO NOT RIDE THE RAMP UNTIL SATURDAY!
DO NOT RIDE THE RAMP UNTIL SATURDAY!
DO NOT RIDE THE RAMP UNTIL SATURDAY!
DO NOT RIDE THE RAMP UNTIL SATURDAY!
DO NOT RIDE THE RAMP UNTIL SATURDAY!
DO NOT RIDE THE RAMP UNTIL SATURDAY!
DO NOT RIDE THE RAMP UNTIL SATURDAY!
DO NOT RIDE THE RAMP UNTIL SATURDAY!
DO NOT RIDE THE RAMP UNTIL SATURDAY!
DO NOT RIDE THE RAMP UNTIL SATURDAY!


